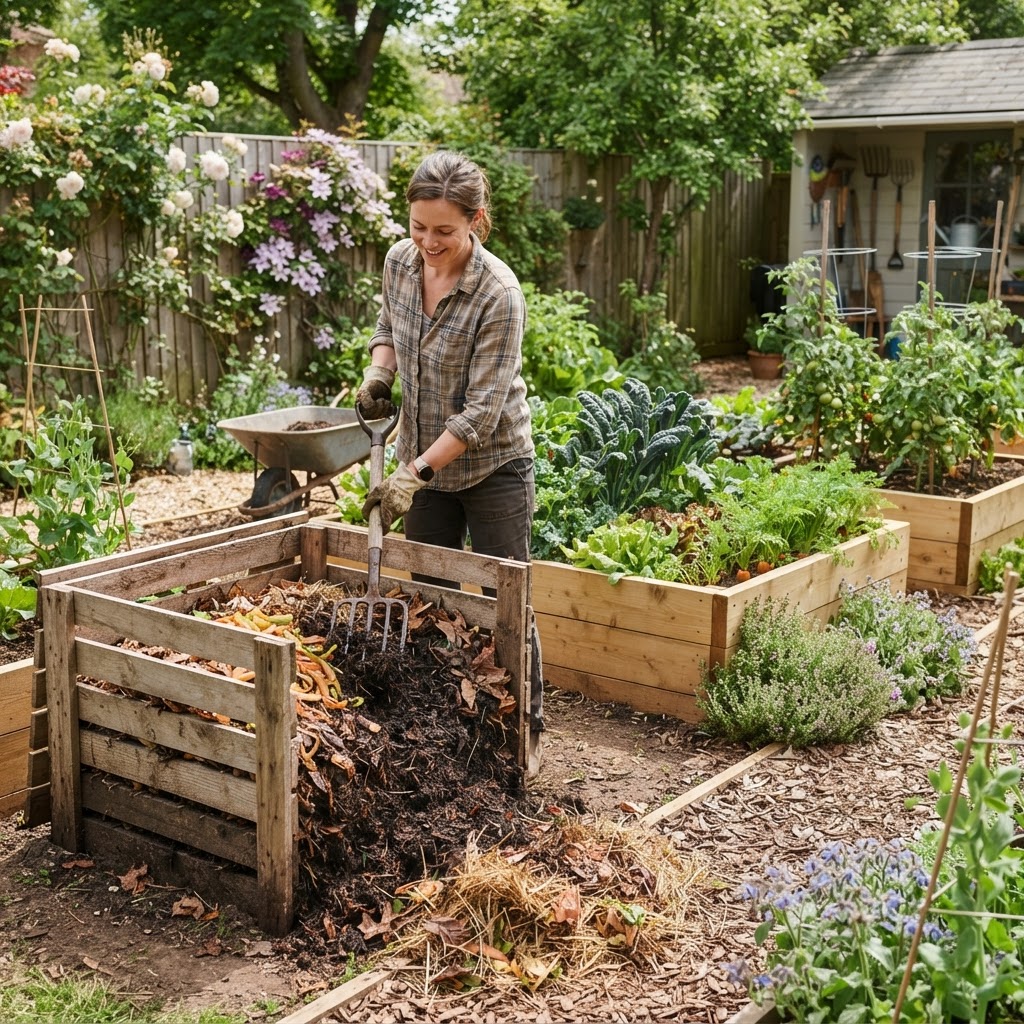
How to Make Compost for Vegetable Gardens: A Simple Beginner’s Guide
If you want healthier soil, stronger plants, and fewer kitchen scraps going to waste, learning how to make compost for vegetable gardens is one of the best places to start. Composting may sound complicated at first, but it is really just the natural process of turning everyday organic materials into rich, crumbly food for your garden.
The good news is that beginners can make great compost without expensive equipment or perfect conditions. With a few simple habits and the right mix of materials, you can create homemade compost that helps your vegetable garden thrive.
Why This Topic Matters
Vegetable gardens take a lot out of the soil. Every tomato, lettuce head, carrot, and bean harvest uses nutrients that need to be replaced if you want your garden to stay productive year after year.
Compost helps return that fertility in a natural, low-cost way. It improves soil structure, feeds beneficial microbes, supports steady plant growth, and helps the soil hold moisture better.
For home gardeners, compost also reduces waste. Fruit peels, coffee grounds, dry leaves, and garden trimmings can all become a useful resource instead of ending up in the trash.
Healthy compost can help vegetable beds in several ways:
- Improves drainage in heavy clay soil
- Helps sandy soil hold water longer
- Adds slow-release nutrients
- Encourages earthworms and helpful soil life
- Can reduce the need for synthetic fertilizers
- Recycles household and yard waste
If you are trying to garden more sustainably, composting is one of the simplest habits to build. It turns everyday leftovers into something that directly benefits your food garden.
Quick Answer
To make compost for vegetable gardens, combine “greens” and “browns” in a pile, bin, or tumbler, keep the materials moist like a wrung-out sponge, and turn the pile regularly to add oxygen. Greens include nitrogen-rich materials like vegetable scraps and grass clippings, while browns include carbon-rich materials like dry leaves, shredded paper, and straw.
Most compost piles work best with roughly two to three parts browns to one part greens by volume. When the pile is balanced and managed well, the materials break down into dark, earthy-smelling compost that can be mixed into vegetable beds, containers, or raised gardens.
Step-by-Step Guide
1. Choose a composting method
You do not need a perfect setup to get started. The best method is the one you will actually use consistently.
Common beginner-friendly options include:
- Open pile: A simple heap in a corner of the yard
- Compost bin: Keeps materials neater and can deter pests
- Compost tumbler: Easier turning, often faster for small spaces
- Wire cage system: Affordable and easy to build
If you have a small yard or want a tidy setup, a bin or tumbler can be a good choice. If you have plenty of space and lots of leaves or garden waste, an open pile works well too.
2. Pick the right location
Set your compost system in a spot that is easy to reach year-round. If it is too far from the kitchen or garden, you may be less likely to keep using it.
A good spot should be:
- Level and well-drained
- Convenient to your garden or back door
- In partial shade if possible
- Large enough for turning and adding materials
Placing the bin directly on bare ground is helpful because it allows worms and microbes to move in naturally. It also improves drainage.
3. Understand greens and browns
This is the most important composting concept for beginners. Compost works best when you balance nitrogen-rich “greens” with carbon-rich “browns.”
Greens provide moisture and nitrogen. They help heat the pile and feed decomposer organisms.
Examples of greens:
- Fruit and vegetable scraps
- Coffee grounds and paper filters
- Fresh grass clippings
- Green plant trimmings
- Tea leaves and tea bags without plastic
- Crushed eggshells
Browns add carbon and structure. They keep the pile from becoming slimy or compacted.
Examples of browns:
- Dry leaves
- Straw
- Shredded newspaper
- Plain cardboard torn into pieces
- Small twigs
- Sawdust from untreated wood in small amounts
- Dried plant stalks
Aim for more browns than greens overall. If you are unsure, adding a little extra brown material is usually safer than adding too many greens.
4. Know what to avoid
Not everything organic belongs in a home compost pile, especially if you plan to use the finished compost in a vegetable garden.
Avoid adding:
- Meat, fish, or bones
- Dairy products
- Oily or greasy foods
- Pet waste
- Diseased plants
- Weeds with mature seeds
- Glossy or heavily colored paper
- Treated wood products
- Large amounts of citrus at once
These materials can cause odors, attract pests, or create disease problems. Keeping them out makes composting easier and cleaner.
5. Start your pile with a base layer
Begin with a loose layer of coarse brown materials such as small twigs, straw, or dry stems. This helps airflow from the bottom and prevents soggy compaction.
Then add alternating layers of browns and greens. You do not need perfect layers every time, but building in mixed layers helps the compost pile get off to a good start.
A simple pattern might look like this:
- Coarse browns on the bottom
- Kitchen scraps or fresh green material
- Dry leaves or shredded paper
- A thin layer of garden soil or finished compost, optional
- Repeat as materials become available
That thin layer of soil or finished compost is optional, but it can help introduce active microbes.
6. Chop materials into smaller pieces
Smaller pieces break down faster. Whole corn stalks, large cabbage leaves, or big chunks of cardboard will compost eventually, but they take much longer.
You can speed things up by:
- Chopping kitchen scraps
- Shredding leaves with a mower
- Tearing cardboard into smaller strips
- Breaking woody stems into short pieces
This step is not required, but it makes a noticeable difference, especially in smaller compost bins.
7. Keep the pile moist, not soaked
A healthy compost pile should feel like a wrung-out sponge. It should be damp enough to support microbial life but not dripping wet.
If the pile is too dry, decomposition slows down. If it is too wet, the pile may smell bad and lose airflow.
Signs to watch for:
- Too dry: Materials look unchanged, pile feels dusty
- Too wet: Sour smell, slimy texture, matted clumps
If it is dry, add water lightly as you turn the pile. If it is wet, mix in more browns such as dry leaves, shredded paper, or straw.
8. Turn the compost regularly
Turning adds oxygen, which helps the microbes do their work. It also mixes wet and dry zones so the pile breaks down more evenly.
Use a garden fork, shovel, or compost aerator to turn the pile every one to two weeks if possible. Tumblers can simply be rotated according to the manufacturer’s directions.
You do not need to obsess over turning. Even occasional mixing is better than none.
9. Watch for heat, but do not worry if it stays cool
Some compost piles heat up noticeably, especially when they are large and well balanced. Hot piles break down faster and may kill some weed seeds.
But many beginner piles stay only mildly warm or even cool, and that is fine. A cool pile will still make compost. It simply takes longer.
If you want more heat, try:
- Making the pile larger n- Adding more greens in balance with browns
- Chopping materials smaller
- Turning more often
- Checking moisture levels
A compost thermometer can be helpful, but it is not essential for home gardeners.
10. Let the compost finish
Finished compost looks dark brown and crumbly. It smells earthy, not rotten, and most of the original materials are no longer recognizable.
Depending on the method, weather, and materials used, compost can take anywhere from a couple of months to a year. Fast, actively managed piles decompose more quickly. Passive piles need more patience.
If a few sticks or eggshell pieces remain, that is normal. You can sift the finished compost if you want a finer texture.
11. Use compost in your vegetable garden
Once your compost is finished, you can put it to work in several ways.
Good uses include:
- Mixing 1 to 2 inches into garden beds before planting
- Adding to raised beds at the start of each season
- Top-dressing around established vegetable plants
- Blending into potting mixes for containers
- Using as part of the soil when transplanting seedlings
Compost is a soil builder more than a quick fertilizer. Think of it as long-term support for healthier, more productive vegetable beds.
Common Beginner Mistakes
Most composting problems come from a few very common beginner issues. The good news is that they are easy to fix once you know what to look for.
Adding too many kitchen scraps
A pile made mostly of food scraps can become wet, dense, and smelly. Balance every bucket of kitchen waste with a generous amount of dry leaves, shredded paper, or another brown material.
Forgetting to save browns
Many gardeners have plenty of greens in summer but not enough browns to balance them. Fall leaves are especially valuable, so save extras in bags or a dry bin to use throughout the year.
Making the pile too small
Very tiny piles dry out quickly and may not break down efficiently. If possible, aim for at least about 3 feet wide by 3 feet tall for an open pile, though smaller bins can still work with attentive care.
Letting the pile get soggy
Too much rain or too many wet materials can create odor problems. Covering the pile loosely during heavy rain and adding more browns usually solves this quickly.
Expecting finished compost too soon
Composting is natural, but it is not instant. Beginners sometimes think the process is failing when it simply needs more time.
Composting the wrong items
Adding meat, dairy, oily leftovers, or diseased plants often creates bigger problems than benefits. Stick with simple, safe materials while you are learning.
Best Tips for Success
If you want easier composting and better results, focus on simple routines rather than perfection.
Here are some of the best tips for success:
- Keep a small kitchen scrap container near where you prep food
- Store dry leaves or shredded cardboard nearby for easy balancing
- Cover fresh food scraps with browns each time you add them
- Turn the pile when you remember, especially after adding a lot of material
- Check moisture during hot or rainy weather
- Chop bulky materials to speed decomposition
- Start with easy compost ingredients before experimenting
- Be patient and let nature do most of the work
It also helps to keep expectations realistic. A slightly messy compost pile can still produce excellent compost. You do not need a flawless system to improve your vegetable garden.
Recommended Supplies or Tools
You can compost with very few tools, but a few basic items make the process easier.
Helpful beginner supplies
- Compost bin or tumbler: Useful for keeping things tidy
- Kitchen scrap container: Makes it easier to collect scraps daily
- Garden fork or shovel: For turning and moving materials
- Hand pruners or loppers: Helpful for cutting bulky stems
- Watering can or hose: To adjust moisture as needed
- Leaves or shredded cardboard storage bin: Keeps browns dry and ready
- Gloves: Nice to have when turning compost
Optional tools
- Compost thermometer: Helps track pile activity
- Compost sifter: Good if you want fine finished compost
- Compost aerator tool: Makes turning easier in deeper bins
You do not need to buy everything at once. Start with a simple setup and add tools only if they solve a real problem in your routine.
Frequently Asked Questions
How long does it take to make compost for a vegetable garden?
It depends on the size of the pile, the materials, temperature, moisture, and how often you turn it. A well-managed pile may be ready in two to four months, while a slower pile can take six to twelve months.
Can I compost banana peels, coffee grounds, and eggshells?
Yes. Banana peels and coffee grounds are great compost ingredients, and crushed eggshells can also be added. Eggshells break down more slowly, so crushing them first helps.
Does compost smell bad?
Healthy compost should smell earthy, like forest soil. Bad odors usually mean the pile is too wet, too compacted, or overloaded with greens.
Can I use unfinished compost in my vegetable garden?
Partly finished compost is best left to break down more before mixing into planting beds. Unfinished compost can tie up nitrogen temporarily and may contain materials that are still too coarse for seedlings.
Do I need a compost bin to get started?
No. You can compost in a simple pile or homemade wire enclosure. A bin is convenient, but it is not required.
Final Thoughts
Learning how to make compost for vegetable gardens is one of the most useful skills a home gardener can build. It saves waste, improves soil, and creates a steady source of organic matter that supports healthier vegetables over time.
Start simple, use the materials you already have, and do not worry about getting everything perfect. With a balance of greens and browns, a little moisture, and some patience, you can make compost that your vegetable garden will love.