Growing tomatoes indoors is one of those gardening projects that feels almost magical the first time you pull it off. Watching those little seedlings push through the soil, then climbing toward the light, setting flowers, and eventually bearing fruit — all from the comfort of your own home — is genuinely rewarding. And the good news is that it's far more achievable than most people think, even if you don't have a greenhouse, a sprawling garden, or decades of experience under your belt.
Whether you're working with a sunny apartment windowsill, a spare corner under grow lights, or a dedicated indoor growing setup, tomatoes can thrive inside with the right approach. The key is understanding what tomatoes actually need — light, warmth, support, and a little attention — and then recreating those conditions in your indoor space. It's not about perfection. It's about giving your plants what they're asking for.
This guide is written for real gardeners: people who might be starting from scratch, who've maybe killed a houseplant or two, and who are ready to try something a bit more ambitious. We'll walk through everything from choosing the right variety to harvesting your first ripe tomato, with honest advice about what works and what doesn't.
Why Growing Tomatoes Indoors Is Worth the Effort
Affiliate Disclosure: This article contains affiliate links. If you make a purchase through one of them, we may earn a small commission at no extra cost to you. We only recommend products we genuinely believe will help your garden thrive.
There's a strong case for moving your tomato growing operation inside, and it goes beyond novelty. Fresh tomatoes are one of the most popular home-grown crops precisely because store-bought versions are such a pale imitation. The flavor difference is dramatic — homegrown tomatoes picked at peak ripeness have a sweetness and complexity that supermarket tomatoes simply can't match.
Growing indoors adds another layer of advantages. You're not at the mercy of your climate, your last frost date, or an unexpected hailstorm. You can grow year-round, even through winter. Pests and diseases are far easier to manage in a controlled environment. And for gardeners in apartments or homes without outdoor space, indoor growing may be the only option.
From a sustainability perspective, indoor growing also makes real sense. You eliminate transportation costs, reduce packaging waste, and you know exactly what went into your food. Growing your own tomatoes — even a modest harvest — is a meaningful step toward a more self-sufficient, low-impact lifestyle.

Dwarf varieties like Tiny Tim and Tumbling Tom are the best choices for successful indoor growing.
Quick Answer
To grow tomatoes indoors successfully, choose a compact or dwarf variety like Tiny Tim or Tumbling Tom, plant in a container at least 12 inches deep, and provide 14–16 hours of bright light daily (a south-facing window or full-spectrum grow lights work best). Keep temperatures between 65–80°F (18–27°C), water consistently without waterlogging, feed with a balanced fertilizer every two weeks, and hand-pollinate flowers by gently shaking them or using a small brush. With the right setup, you can expect harvestable tomatoes in approximately 60–80 days from transplanting.
Step-by-Step Guide to Growing Tomatoes Indoors
Step 1: Choose the Right Variety
This is the single most important decision you'll make, and it's where many beginners go wrong. Not all tomatoes are suited for indoor growing. Large beefsteak varieties need enormous root space, heavy support structures, and intense light that's hard to replicate indoors. You want to focus on compact, determinate, or dwarf varieties specifically bred for container growing.
Best varieties for indoor growing:
- Tiny Tim – A true dwarf variety reaching just 12–18 inches tall. Perfect for windowsills and small spaces. Produces small but intensely flavored cherry tomatoes.
- Tumbling Tom – Great for hanging baskets or containers. Cascading habit, prolific cherry tomato producer.
- Micro Tom – One of the smallest tomato plants in the world. Excellent for limited space.
- Patio F Hybrid – Slightly larger, great flavor, stays compact enough for indoor conditions.
- Window Box Roma – If you prefer paste tomatoes, this compact Roma variety performs well indoors.
Look for the words "compact," "dwarf," "patio," or "container" on seed packets. These aren't just marketing terms — they reflect genuinely different growth habits.
Step 2: Gather Your Supplies

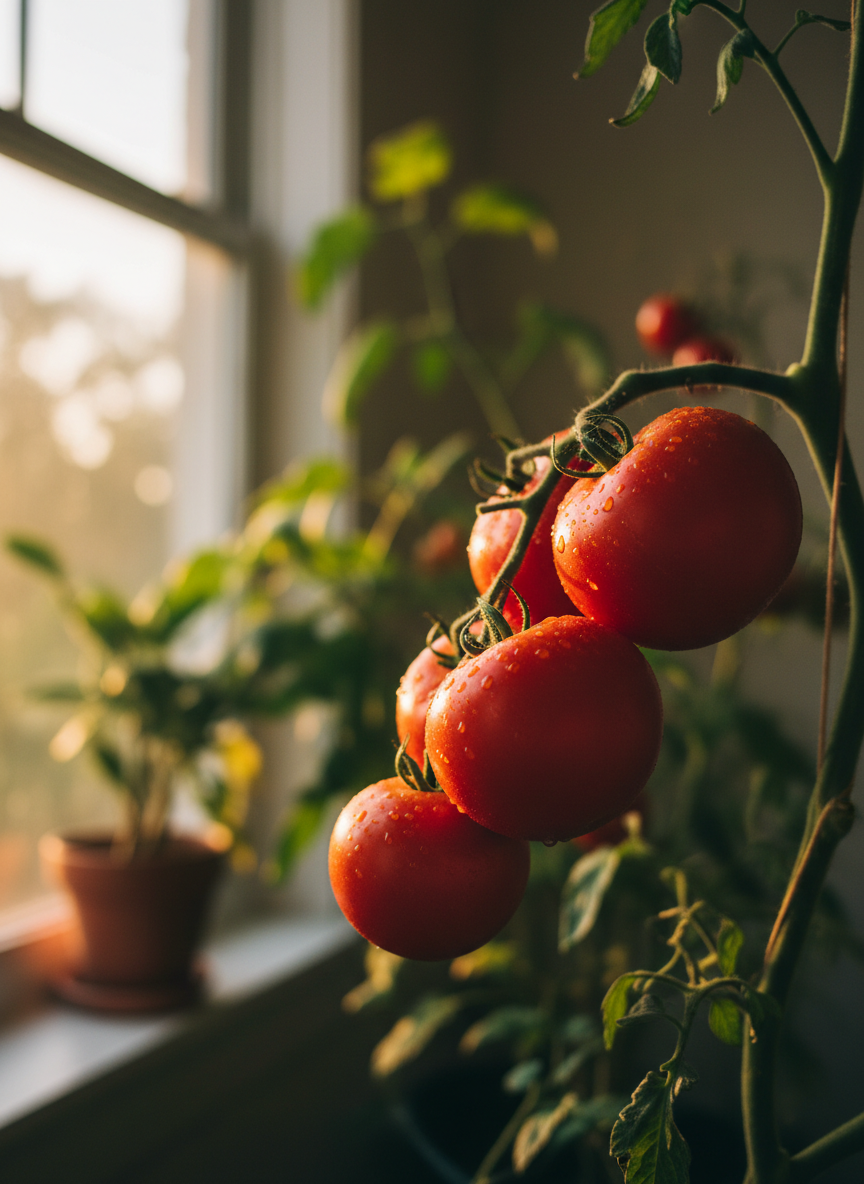
The first harvest from an indoor tomato plant is one of the most rewarding moments in indoor gardening.
Before you sow a single seed, get your setup ready. Scrambling to find supplies after your seedlings are already stressed is a recipe for problems.
What you'll need:
- Containers: At minimum 12 inches deep and 12 inches wide for most compact varieties. Larger is always better — a 5-gallon pot is ideal. Make sure they have drainage holes.
- Potting mix: Use a high-quality, well-draining potting mix. Never use garden soil indoors — it compacts and can harbor disease. Look for mixes with perlite or vermiculite for drainage.
- Grow lights or a south-facing window: More on this in Step 4.
- Liquid tomato fertilizer: A balanced formula to start, transitioning to a higher-potassium feed once flowering begins.
- Small stakes or a tomato cage: Even compact varieties benefit from support.
- A small paintbrush or electric toothbrush: For pollination.
- A spray bottle: For watering seedlings and maintaining humidity.
Step 3: Sow Your Seeds Correctly
Fill a small seed-starting tray or pot with moist seed-starting mix. Sow seeds about ¼ inch deep, two seeds per cell or small pot. Cover lightly, mist with water, and place in a warm spot — ideally 70–80°F (21–27°C). Seeds don't need light to germinate, but they do need warmth. A heat mat speeds germination significantly.
Most tomato seeds will germinate in 5–10 days. Once seedlings emerge, move them immediately to your light source. This is critical — seedlings left in low light even for a day or two will become "leggy" (tall, weak, and floppy).
Once seedlings have their first set of true leaves (the second set to appear), thin to one plant per cell by snipping the weaker one at soil level with scissors. Don't pull — you'll disturb the roots of the survivor.
Step 4: Get the Light Right
Light is the biggest challenge in indoor tomato growing, and it's worth being honest here: a regular window often isn't enough, especially in winter or in homes without south-facing exposure. Tomatoes need the equivalent of full sun — roughly 14–16 hours of bright light per day to produce fruit.
Window growing: Only attempt this if you have a large, south-facing window (north-facing in the Southern Hemisphere) that receives direct sunlight for most of the day. Even then, supplementing with a grow light during shorter winter days is a good idea.
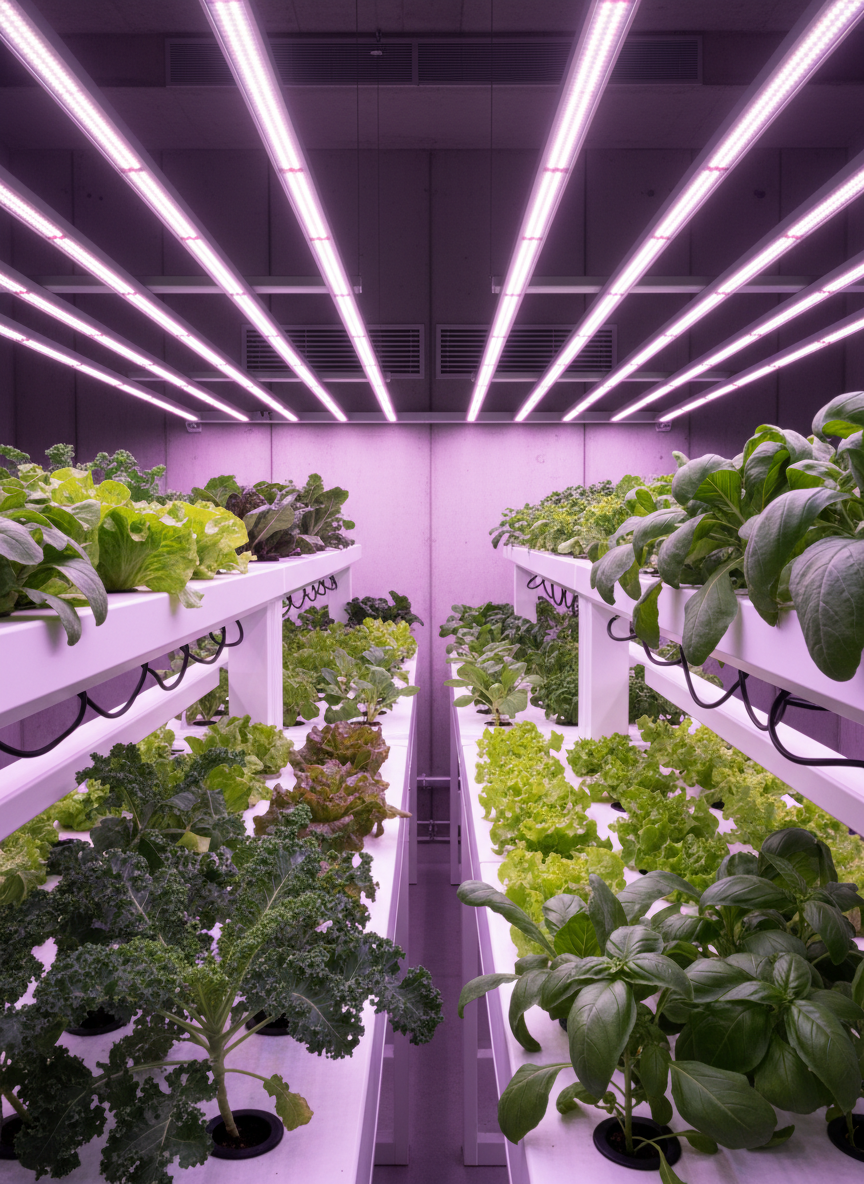
Grow lights: For most indoor gardeners, a full-spectrum LED grow light is the practical solution and a worthwhile investment. Position the light 6–12 inches above your plants and run it for 14–16 hours daily using a timer. As plants grow, raise the light to maintain the correct distance.
A common mistake is placing grow lights too far away, resulting in leggy, underperforming plants. If your seedlings are stretching toward the light, it needs to be closer.

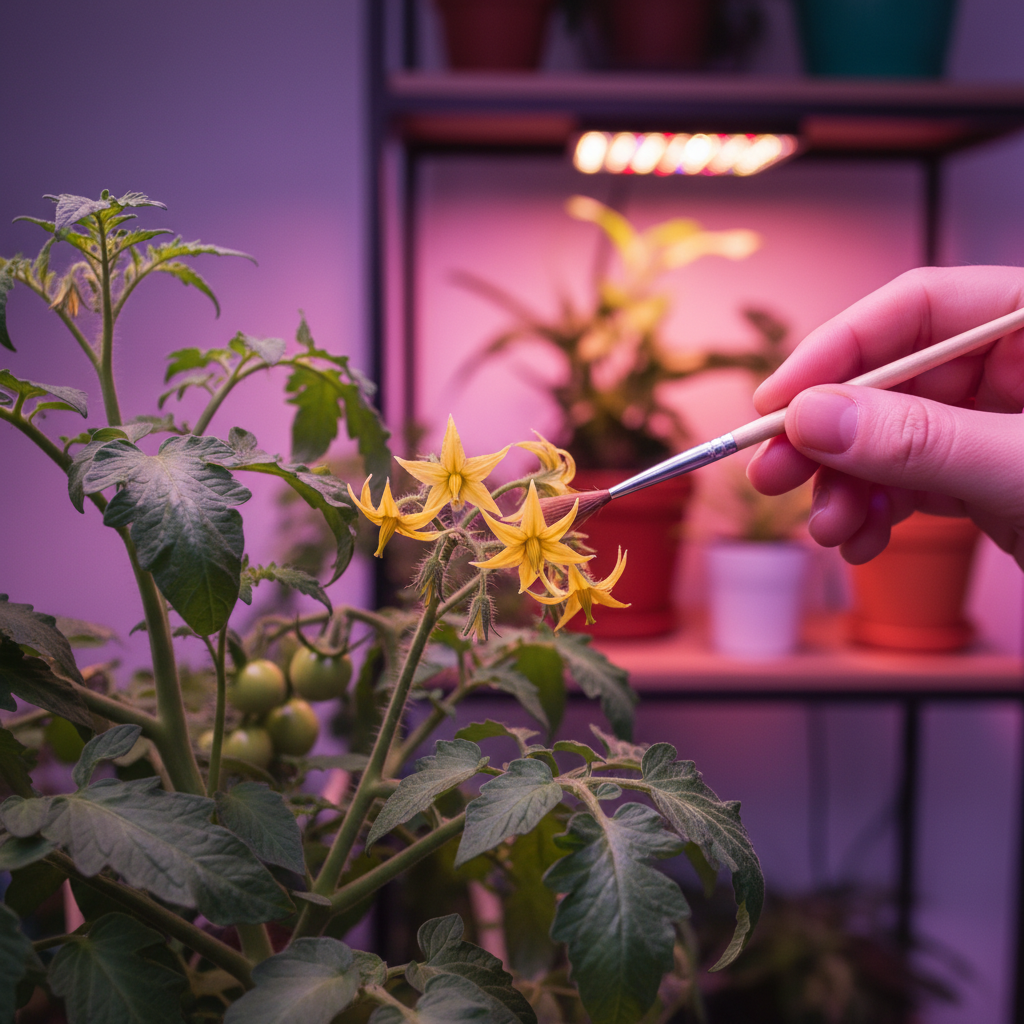
Gently shaking the main stem daily when flowers are open mimics wind pollination effectively.
Step 5: Transplant at the Right Time
When seedlings are 6–8 inches tall with sturdy stems and several sets of leaves — usually 6–8 weeks after germination — they're ready for their final container. This is your opportunity to bury the stem deep. Unlike most plants, tomatoes can form roots all along their buried stem, creating a stronger, more resilient root system. Plant up to two-thirds of the stem underground.
Water thoroughly after transplanting and keep out of direct strong light for a day or two to reduce transplant shock.
Step 6: Maintain Ideal Growing Conditions
Temperature: Tomatoes prefer 65–75°F (18–24°C) during the day and slightly cooler nights. Avoid cold drafts, air conditioning vents, or spots that drop below 55°F (13°C) at night.
Watering: Water deeply when the top inch of soil feels dry. Don't water on a schedule — check the soil. Inconsistent watering is one of the leading causes of problems like blossom end rot and fruit splitting. Make sure containers drain freely after each watering.
Humidity: Aim for 40–70% relative humidity. Extremely dry indoor air (common in winter with central heating) can stress plants. A small humidifier nearby or occasional misting can help.
Feeding: Start fertilizing two weeks after transplanting. Use a balanced liquid fertilizer (like 10-10-10) while plants are growing vegetatively. Once flowers appear, switch to a tomato-specific fertilizer higher in potassium and phosphorus to support fruit development.
Step 7: Pollinate by Hand
Outdoors, wind and bees do the work of pollination. Indoors, you need to help. Without pollination, flowers drop and no fruit forms.
Once flowers open, gently shake the plant daily — you can tap the main stem or give it a slight vibration. Alternatively, use a small dry paintbrush to transfer pollen from flower to flower with a gentle circular motion. An electric toothbrush held against the back of open flowers creates the perfect vibration to release pollen.
This takes 30 seconds and can be the difference between a fruitful harvest and a frustrating failure.
Step 8: Support and Prune as Needed

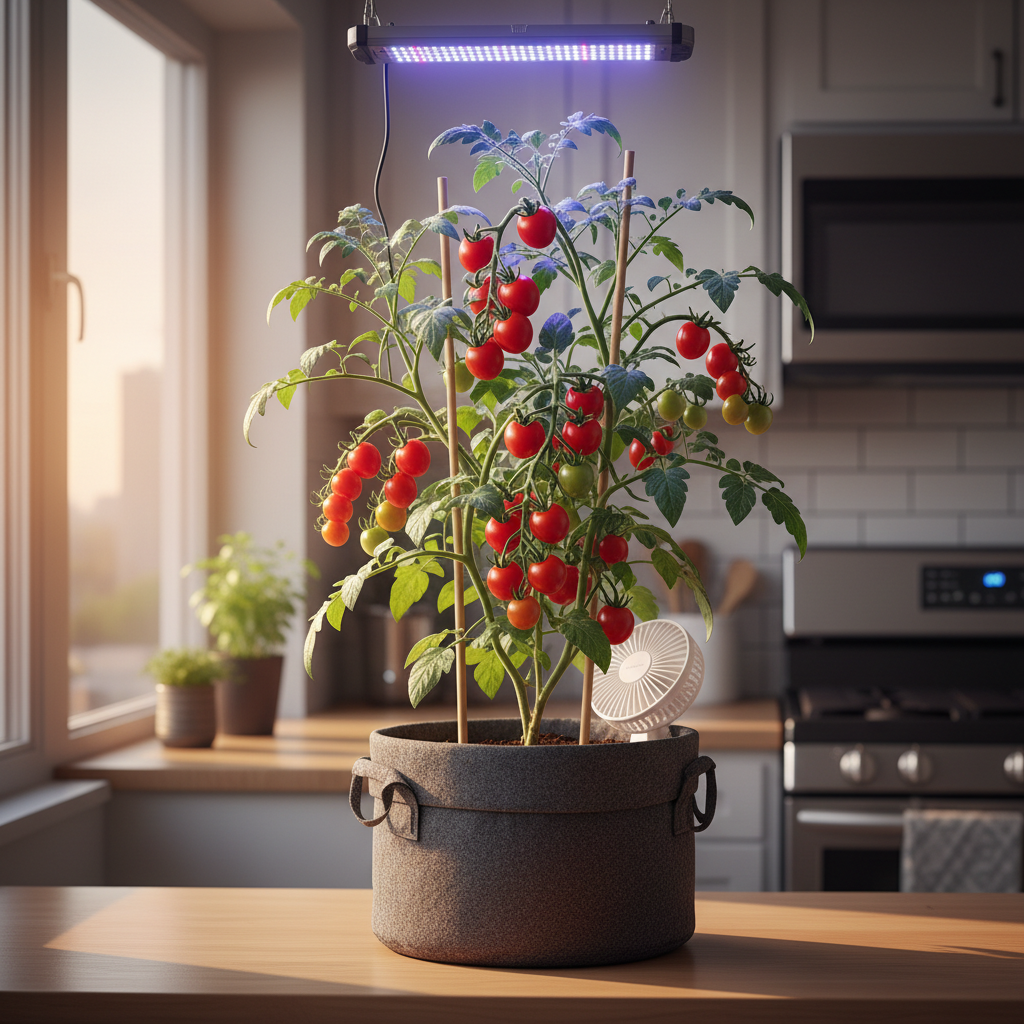
Pot up tomato seedlings into a minimum 5-gallon container to give roots enough room to grow.
Even compact varieties benefit from a small stake or cage for support as they grow and begin to bear fruit. Tie stems loosely with soft twine.
For indeterminate or larger varieties you're growing indoors, regular pruning of "suckers" (the shoots that emerge in the joint between the stem and a branch) will keep the plant manageable and direct energy toward fruit production.
Common Mistakes to Avoid
- Not enough light: The number one reason indoor tomatoes fail to fruit. When in doubt, add a grow light.
- Overwatering: More plants are killed by kindness than neglect. Always check the soil before watering.
- Wrong container size: Too small a pot restricts root development and leads to stressed, underperforming plants.
- Skipping fertilization: Container plants exhaust their potting mix nutrients quickly. Regular feeding is non-negotiable.
- Forgetting to pollinate: Set a daily reminder if needed. This step is easy and essential.
- Starting with the wrong variety: Giant slicing tomatoes indoors will drain your patience. Start with something proven for containers.
Your Next Steps
Start small and build confidence. Pick one compact variety, set up a grow light if your windows aren't ideal, and commit to checking your plants daily — not to micromanage, but to understand what they're telling you. Yellowing leaves, drooping growth, and flower drop are all signals you can learn to read and respond to.
Growing tomatoes indoors rewards attention and consistency more than it rewards expertise. You don't need to know everything before you start. You just need to begin, pay attention, and adjust as you go. Your first homegrown tomato — bright, warm from the plant, tasting like sunshine — will make every bit of effort worthwhile.
Recommended Products
Looking for the right gear to get started? We've curated our top picks for sustainable vegetable gardening — from raised beds and grow lights to seed-starting kits and organic fertilizers — on our Recommended Products page.
Ready to Start?
If you're ready to gear up, check out our recommended raised beds and grow lights on Amazon — beginner-approved and built to last.
Ready to Start?
If you're ready to gear up, check out our recommended raised beds and grow lights on Amazon — beginner-approved and built to last.
Ready to Start?
If you're ready to gear up, check out our recommended raised beds and grow lights on Amazon — beginner-approved and built to last.
Ready to Start?
If you're ready to gear up, check out our recommended raised beds and grow lights on Amazon — beginner-approved and built to last.
Ready to Start?
If you're ready to gear up, check out our recommended raised beds and grow lights on Amazon — beginner-approved and built to last.
Ready to Start?
If you're ready to gear up, check out our recommended raised beds and grow lights on Amazon — beginner-approved and built to last.
Ready to Start?
If you're ready to gear up, check out our recommended raised beds and grow lights on Amazon — beginner-approved and built to last.
Ready to Start?
If you're ready to gear up, check out our recommended raised beds and grow lights on Amazon — beginner-approved and built to last.