When to Start Tomatoes Indoors From Seed (The Beginner's Complete Guide)
Affiliate Disclosure: This article contains affiliate links. If you make a purchase through one of them, we may earn a small commission at no extra cost to you. We only recommend products we genuinely believe will help your garden thrive.
Meta Title: When to Start Tomatoes Indoors From Seed Meta Description: Wondering when to start tomatoes indoors from seed? Learn the exact timing based on your last frost date, plus avoid the beginner mistakes that kill seedlings.
You bought the seeds. You have the little trays. You are excited — and then you start Googling, and suddenly you're drowning in conflicting advice, zone charts, and frost date calculators that somehow make everything more confusing.
Here's the thing nobody tells you upfront: knowing when to start tomatoes indoors from seed is the single most important factor in whether your seedlings thrive or flop. Get the timing right, and you'll have strong, healthy transplants ready to hit the garden exactly when conditions are perfect. Get it wrong — start too early, or too late — and you'll spend weeks frustrated by spindly, leggy plants or scrambling to catch up.
The good news? Once you understand the simple formula, starting tomatoes from seed indoors becomes one of the most satisfying things you'll do as a gardener. Let's break it all down.
The Quick Answer: When to Start Tomatoes Indoors From Seed
Most tomatoes should be started 6 to 8 weeks before your last expected frost date.
Here's a simple rule of thumb:
- Find your last frost date (more on how to do that below)
- Count back 6–8 weeks from that date
- That window is your seed starting target
For example:
- Last frost date of May 15 → start seeds between March 20 – April 1
- Last frost date of April 15 → start seeds between February 19 – March 1
- Last frost date of May 1 → start seeds between March 6 – March 20
It's that simple. Keep reading and we'll walk through exactly how to apply this to your specific location — and how to make sure those seedlings grow up strong.

Use small seed-starting cells and a quality seed-starting mix for the best germination rates.
Why Timing Matters More Than You Think
Let's talk about what actually goes wrong when the timing is off — because this is what nobody explains clearly, and it's the source of so much beginner frustration.
What Happens If You Start Too Early
This is the most common beginner mistake. It feels logical — the earlier the better, right? More head start, more growth. But tomatoes started too early run out of space, light, and nutrients before it's even safe to plant them outside.
The result: leggy, stretched-out seedlings. You'll notice them reaching desperately toward any light source, growing tall and thin instead of short and stocky. Leggy seedlings are weaker, harder to transplant, and more vulnerable to stress.
If your seedlings get rootbound in their trays before the last frost has passed, you'll need to pot them up multiple times — which is extra work and can stress young plants.
What Happens If You Start Too Late
On the flip side, starting too late means your transplants go into the garden still tiny and underdeveloped. You lose weeks of potential growing time, and you'll be watching your neighbors harvest tomatoes while yours are still flowering.
For gardeners in short-season climates, late starting can mean the difference between a full harvest and frost killing your plants before the tomatoes ever ripen.
The Sweet Spot
Seedlings started at the right time — 6 to 8 weeks before last frost — will be 4 to 6 inches tall, with thick stems and deep green leaves, ready to be hardened off and transplanted into warm soil. That's the goal.
How to Calculate the Best Time to Start Tomatoes Indoors
This is simpler than it sounds, we promise.
Step 1: Find Your Last Frost Date
Your last frost date is the average date of the final freezing temperature in spring in your area. It's not a guarantee — it's a historical average — but it's the standard all seed starting timelines are based on.
To find yours:
- Go to the Old Farmer's Almanac frost date calculator at almanac.com
- Type in your zip code
- It will give you your average last spring frost date
Step 2: Count Back 6–8 Weeks
Once you have your date, simply count backward:

Once seedlings sprout their first true leaves, they're ready for stronger light and light feeding.
- 6 weeks back = earlier start, slightly smaller transplants
- 8 weeks back = larger, more established transplants (ideal for most varieties)
Most experienced gardeners aim for 7 weeks as a comfortable middle ground.
Step 3: Add a Little Buffer
If you're in an area with unpredictable spring weather, it's smart to wait until 1–2 weeks after your last frost date before transplanting outside. That means your starting window might shift slightly later too.
Example for a beginner in Chicago (Last frost: May 10)
- Count back 7 weeks from May 10 = March 22
- Start your tomato seeds around March 15–25
- Transplant outside around May 15–20 after hardening off
Simple, right?
Best Tomato Varieties for Indoor Seed Starting
Not all tomatoes are created equal when it comes to indoor seed starting — especially if you're a beginner. Here are some great options to consider.
Beginner-Friendly Varieties
- Roma – Compact, productive, great for beginners and sauce making
- Cherokee Purple – Heirloom favorite, excellent flavor, reliable germinator
- Sun Gold – Cherry tomato, extremely productive and forgiving
- Better Boy – Classic, disease-resistant, reliable in most climates
- Brandywine – Popular heirloom with rich flavor (slower to mature — give it 8 weeks)
Compact & Dwarf Varieties for Indoor Growers
If you're planning to keep some tomatoes growing indoors in containers, look at:
- Tumbling Tom – Cascading habit, perfect for hanging planters
- Tiny Tim – Ultra-compact, only grows about 12 inches tall
- Micro Tom – The smallest tomato plant in existence, great for windowsills
- Patio F Hybrid – Bred specifically for container gardening
For container tomatoes indoors, a self-watering planter makes a huge difference — it keeps moisture consistent and dramatically reduces the risk of under or overwatering, which is the #1 killer of indoor tomatoes.
Supplies You'll Need for Starting Tomatoes Indoors
Before you start, gather these basics. None of this needs to be expensive — but having the right tools makes everything easier.
Essential Supplies
Seed Starting Trays Use trays with individual cells rather than open flats. Individual cells make transplanting easier and reduce root disturbance. Look for trays with drainage holes and a humidity dome to help seeds germinate faster.
Seed Starting Mix This is not the same as potting soil. Seed starting mix is lighter, finer, and sterile — which means fewer disease problems and better germination. Do not skip this.
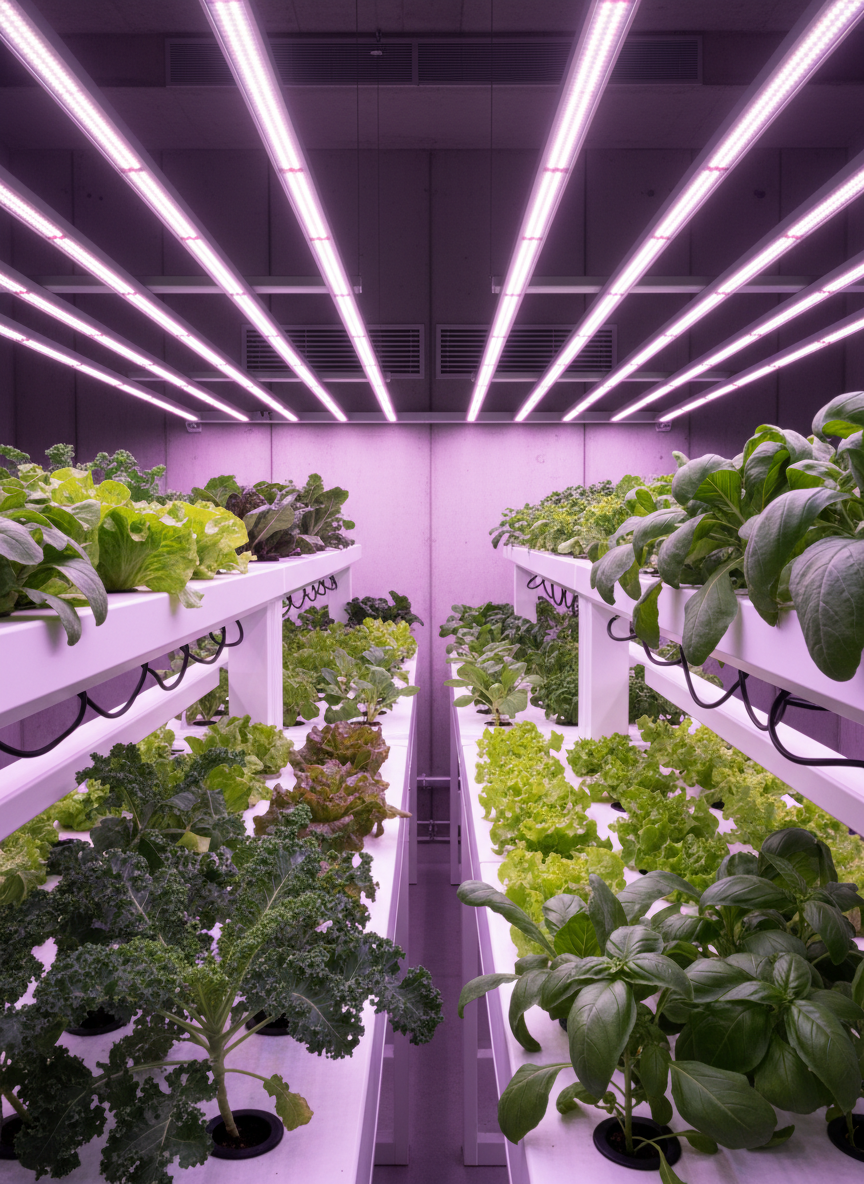
Grow Lights This is the one supply that truly makes or breaks indoor seed starting. A sunny window is almost never enough — even a south-facing window in February doesn't deliver enough light intensity for tomato seedlings. Without adequate light, you'll get leggy seedlings every single time.
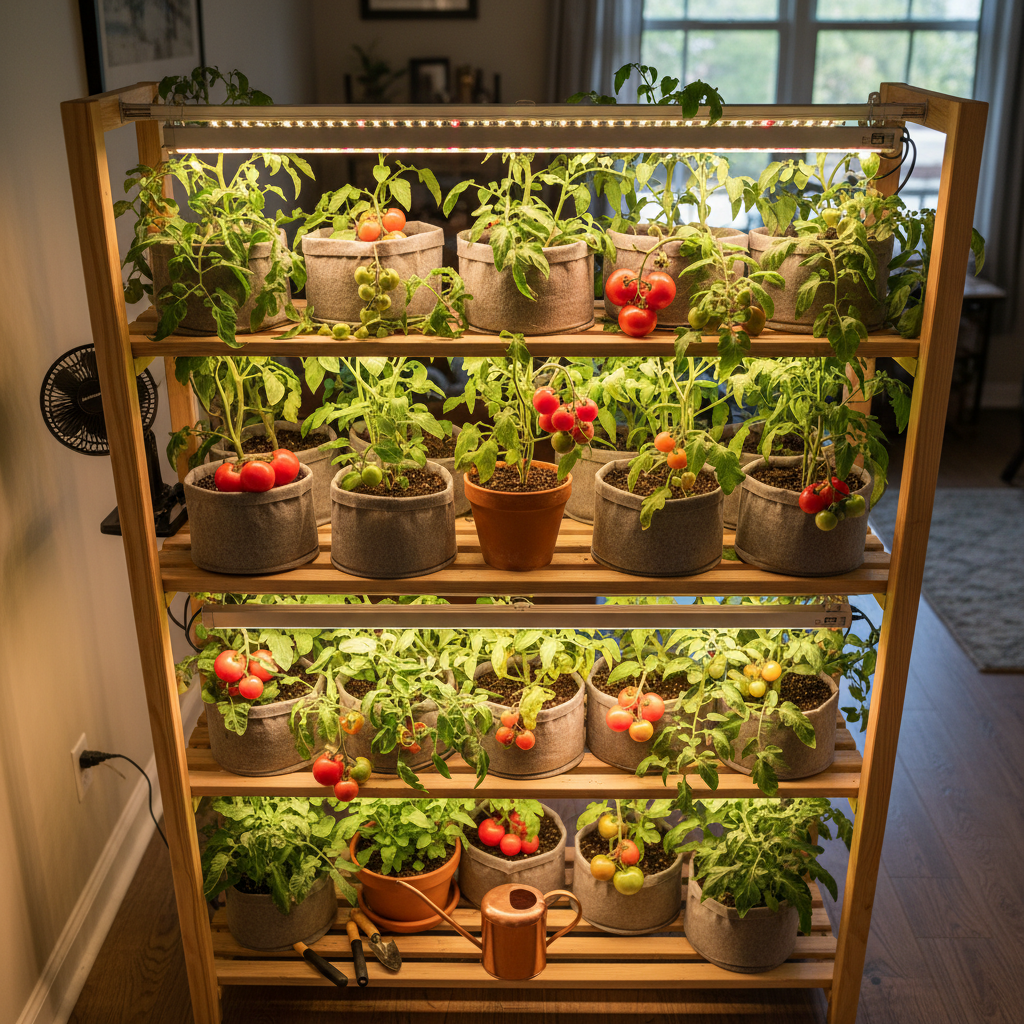
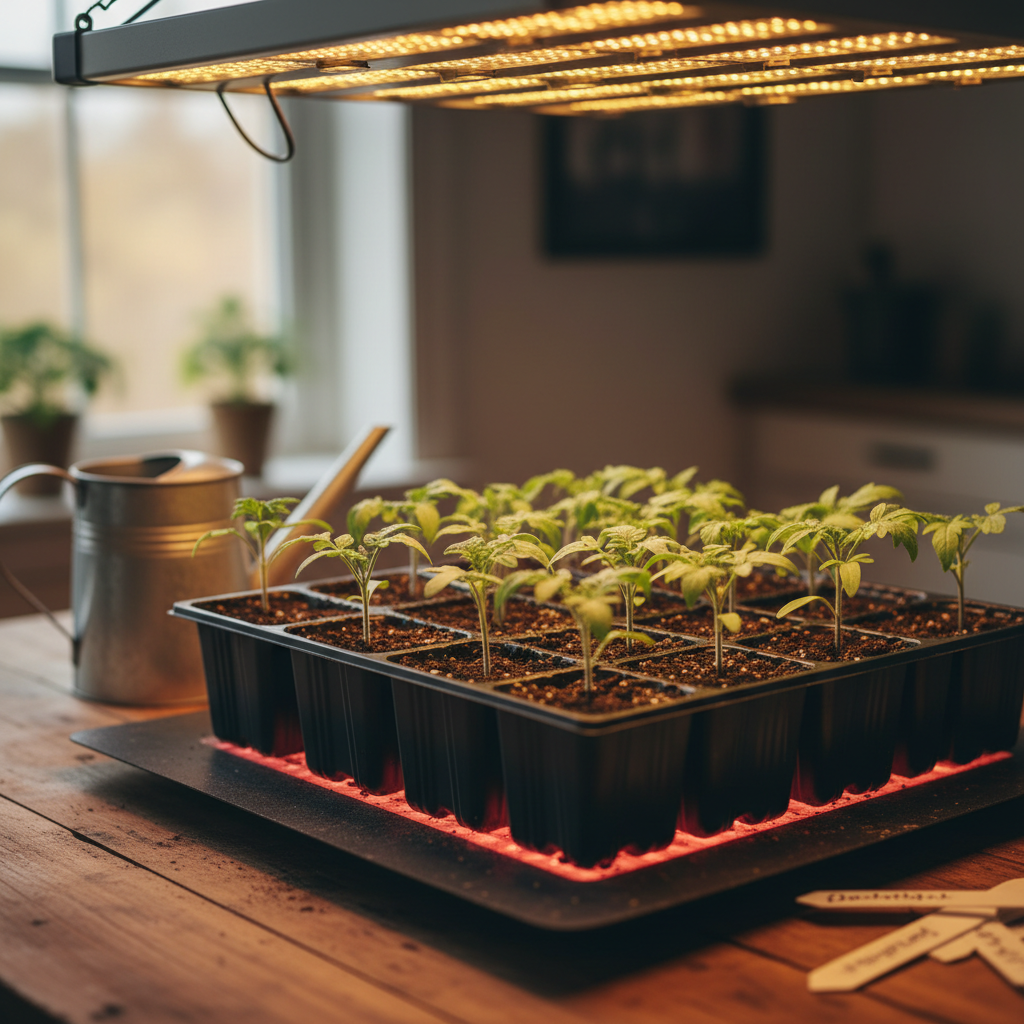
A full-spectrum LED grow light positioned 2 to 4 inches above your seedlings for 14 to 16 hours per day is the secret to thick, stocky, healthy plants. Even an affordable entry-level LED grow light will transform your results compared to a windowsill.
Seedling Heat Mat Tomato seeds germinate best when soil temperature is between 70–85°F. A seedling heat mat placed under your trays can speed up germination from 10+ days down to 5–7 days. Once seeds sprout, you can remove the mat.
Watering Can with a Fine Rose Head For watering seedlings, gentle is key. A watering can with a fine rose head (the sprinkler attachment) helps you water without disturbing tiny seedlings or washing seeds out of their cells.
Plant Labels If you're growing multiple varieties — and you will be, once you catch the gardening bug — label everything from day one. They all look identical as seedlings.
Step-by-Step Guide to Starting Tomatoes Indoors From Seed

Count back 6-8 weeks from your last frost date to find the right time to start tomato seeds.
Step 1: Fill Your Seed Trays
Fill each cell loosely with moist (not soaking wet) seed starting mix. Press gently to remove large air pockets, but don't pack it down.
Step 2: Sow Your Seeds
Place 2 seeds per cell about ¼ inch deep. Sowing two seeds ensures at least one germinates — you'll thin to the strongest seedling later. Cover lightly with mix and press gently.
Step 3: Water and Cover
Mist the surface lightly with water. Place a humidity dome or plastic wrap over the tray to retain moisture. You want the soil to stay consistently damp — not wet — during germination.
Step 4: Apply Bottom Heat
Set your trays on a seedling heat mat. Place in a warm location (soil temperature 70–80°F is ideal). You don't need light yet — seeds germinate in the dark.
Step 5: Watch for Germination
Most tomato varieties germinate within 5–10 days. As soon as you see the first sprouts poking up, remove the dome and get your grow light on immediately. Tomatoes need light the moment they emerge.
Step 6: Set Up Your Grow Lights
Position your grow light 2–4 inches above the tops of your seedlings. Run it for 14–16 hours per day — a simple outlet timer makes this effortless. As seedlings grow, raise the light to maintain that distance.
Step 7: Water Carefully
Water when the top of the soil feels dry to the touch. Bottom watering (pouring water into the tray and letting it soak up through drainage holes) is ideal for seedlings — it encourages roots to grow downward and prevents damping off.
Step 8: Thin Your Seedlings
Once seedlings have their first set of true leaves, thin to one plant per cell by snipping the weaker seedling at soil level with scissors. Don't pull it out — you might disturb the roots of the one you're keeping.
Step 9: Fertilize Lightly
Once seedlings have their second set of true leaves, start feeding with a diluted liquid fertilizer (half strength) once a week. A balanced fertilizer or one slightly higher in nitrogen works well at this stage.
Step 10: Harden Off Before Transplanting
About 1–2 weeks before your transplant date, begin hardening off your seedlings. Set them outside in a sheltered spot for an hour on day one, two hours on day two, gradually increasing exposure over 7–10 days. This acclimates them to wind, direct sun, and temperature swings.
Common Mistakes to Avoid When Starting Tomatoes Indoors
Here are the beginner mistakes that catch almost everyone — avoid these and you'll be miles ahead.
Starting Too Early
We said it before but it bears repeating: more time does not equal better plants when it comes to indoor seeds. Stick to 6–8 weeks before last frost.
Relying on a Window for Light
What nobody tells you is that February and March windowsills, even south-facing ones, don't produce enough light for tomato seedlings. You will get leggy plants. Get a grow light — it's a game changer.
Overwatering
More seedlings die from overwatering than from any other cause. Soggy soil leads to damping off, a fungal condition that causes stems to collapse at soil level overnight. Water when the soil surface is dry, not on a schedule.
Poor Airflow
Tomato seedlings need air movement to develop strong stems. Run a small fan on low near your seedlings for a few hours each day, or gently brush your hand over the tops of the plants daily. This mimics outdoor conditions and stimulates the plant to build a thicker stem.
Overcrowding Your Seedlings
Giving each seedling enough space is critical for airflow and light penetration. Overcrowded trays lead to weak, stretched plants competing for light, and increase the risk of fungal issues.
Skipping Hardening Off
Putting seedlings directly outside after weeks under grow lights is like sending someone from a dark room into blazing noon sun. They'll sunburn and wilt. Always harden off over 7–10 days.
Using Regular Potting Soil for Seed Starting
Regular potting mix is too dense and often not sterile enough for tiny seedlings. Use a dedicated seed starting mix for best results.
Frequently Asked Questions
Can I start tomatoes too early indoors?

Harden off indoor tomato transplants gradually before moving them to their final outdoor spot.
Absolutely — and it's one of the most common beginner mistakes. Starting more than 8–10 weeks before your last frost date gives seedlings too much time indoors. They'll outgrow their containers, become rootbound, and develop into leggy, stressed plants by transplant time. Stick to 6–8 weeks.
What if I missed my seed starting window?
Don't panic. If you're only a week or two behind, your seedlings will still have time to establish before transplant. If you're significantly late, consider buying transplants from a local nursery for this season and starting from seed next year. There's no shame in it.
Do tomatoes need heat to germinate?
Yes — tomato seeds germinate best in warm soil, between 70–85°F. Cool soil slows germination significantly. A seedling heat mat speeds things up and improves germination rates, especially in a cold basement or garage.
How many hours of light do tomato seedlings need?
Tomato seedlings need 14–16 hours of bright light per day when growing indoors. This is why grow lights are so important — a natural window, even a bright south-facing one, rarely delivers this in late winter or early spring.
Can I grow tomatoes indoors year-round?
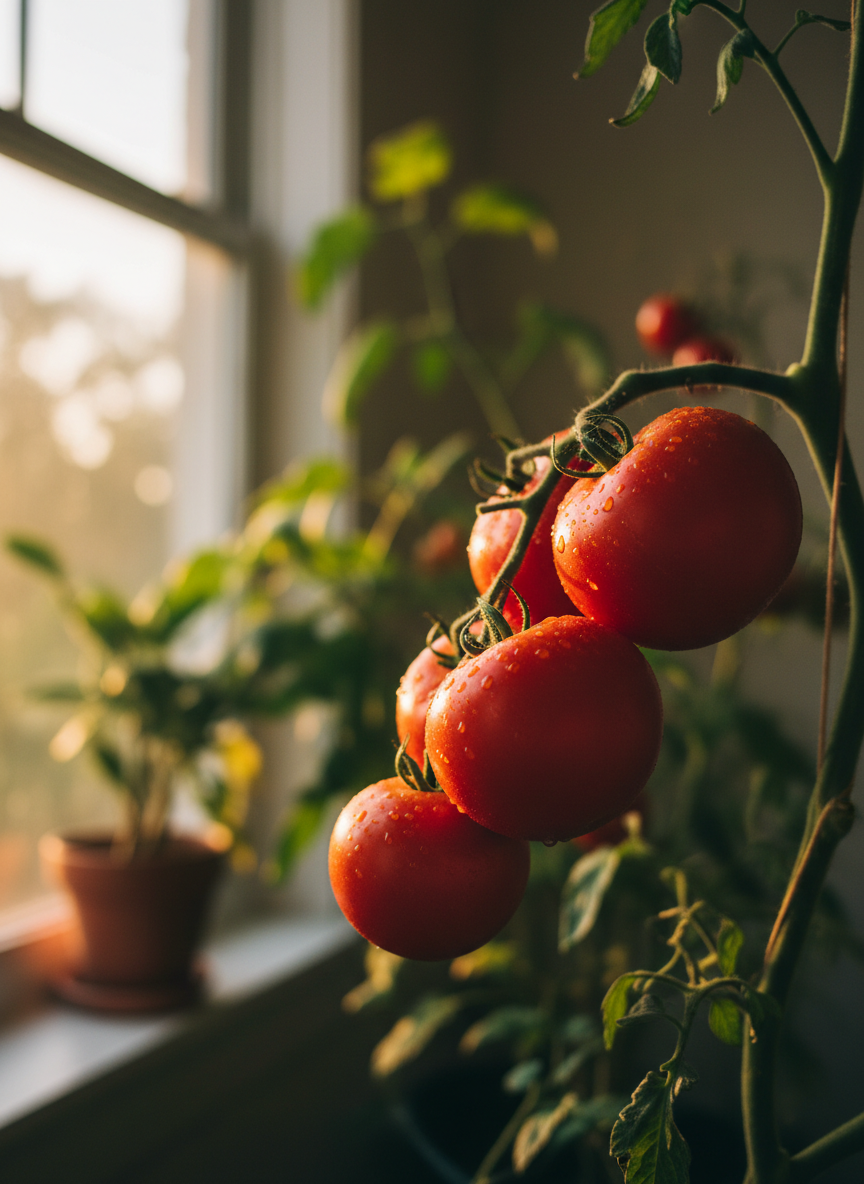
Yes, with the right setup. You'll need a dedicated full-spectrum grow light, a large enough container (at least 5 gallons for most varieties), consistent temperatures, and good pollination (tomatoes need their flowers shaken or vibrated to set fruit indoors). Compact or dwarf varieties like Tiny Tim or Tumbling Tom work best for year-round indoor growing.
How deep should I plant tomato seeds?
About ¼ inch deep is ideal. Tomato seeds are small and don't need to be buried deeply to germinate. Too deep and they may exhaust their energy before reaching the surface.
You've Got This
If you've made it this far, you're already ahead of most beginners. You understand why timing matters, you know how to calculate your seed starting window, and you know what supplies will actually make a difference.
Here's the honest truth: starting tomatoes indoors from seed is not complicated. It just requires the right timing, adequate light, and a little patience. Every single experienced gardener you've ever admired started exactly where you are right now — googling the basics and hoping for the best.
Count back 6–8 weeks from your last frost date, get your seeds into fresh seed starting mix, put them on a heat mat, and the moment they sprout — get that grow light on them. That's really it.
The first time you slice open a tomato that you grew from a tiny seed you started on your kitchen counter in February? It's one of the best feelings in gardening. Go make it happen.
Pinterest Title Ideas: 1. When to Start Tomatoes Indoors From Seed (Beginner's Complete Guide) 2. The Seed Starting Timeline Every Tomato Grower Needs 3. Avoid This Beginner Mistake When Starting Tomatoes Indoors 4. What Nobody Tells You About Growing Tomatoes From Seed 5. How to Grow Tomatoes From Seed Indoors (Step-by-Step for Beginners)
Pinterest Pin Descriptions: 1. Starting tomatoes from seed indoors? Here's the exact timing formula based on your last frost date — plus the common beginner mistakes to avoid for healthy, stocky seedlings. 2. Wondering when to start tomato seeds indoors? This beginner's guide walks you through everything: timing, grow lights, seed starting mix, and a step-by-step process that actually works. 3. The secret to healthy tomato seedlings isn't magic — it's timing. Learn exactly when to start tomatoes indoors from seed and avoid the #1 mistake most beginners make. 4. Don't make these common tomato growing mistakes! Learn when to start seeds indoors, how to use your last frost date, and which supplies you actually need. 5. Everything beginners need to know about starting tomatoes indoors from seed — timing, grow lights, heat mats, step-by-step instructions, and the mistakes to avoid.
Recommended Products
Looking for the right gear to get started? We've curated our top picks for sustainable vegetable gardening — from raised beds and grow lights to seed-starting kits and organic fertilizers — on our Recommended Products page.
Ready to Start?
If you're ready to gear up, check out our recommended raised beds and grow lights on Amazon — beginner-approved and built to last.
Ready to Start?
If you're ready to gear up, check out our recommended raised beds and grow lights on Amazon — beginner-approved and built to last.
Ready to Start?
If you're ready to gear up, check out our recommended raised beds and grow lights on Amazon — beginner-approved and built to last.
Ready to Start?
If you're ready to gear up, check out our recommended raised beds and grow lights on Amazon — beginner-approved and built to last.
Ready to Start?
If you're ready to gear up, check out our recommended raised beds and grow lights on Amazon — beginner-approved and built to last.
Ready to Start?
If you're ready to gear up, check out our recommended raised beds and grow lights on Amazon — beginner-approved and built to last.