Growing your own food doesn't require an acre of land, a tractor, or even soil. Hydroponics — the art of growing plants in nutrient-rich water instead of dirt — has quietly revolutionized home food production, and it's more accessible than ever for everyday gardeners. If you've ever killed a houseplant from inconsistent watering or struggled with rocky, clay-heavy soil, hydroponics might honestly be the gardening method you've been waiting for.
The beauty of a beginner hydroponic setup is that you can start small, learn fast, and scale up once you're hooked. And you will get hooked. Watching lettuce go from seed to harvest in three weeks flat, without a single handful of potting mix, has a way of converting even the most dedicated dirt gardeners into hydro enthusiasts. Whether you have a spare closet, a sunny countertop, or a basement corner, there's a hydroponic system that fits your space and your lifestyle.
This guide is designed for true beginners — no prior experience required, no engineering degree needed. We'll walk through everything from choosing your first system to troubleshooting the most common rookie mistakes, so you can start growing clean, fast, and sustainably from day one.
Why Hydroponics Is Worth Your Time
Affiliate Disclosure: This article contains affiliate links. If you make a purchase through one of them, we may earn a small commission at no extra cost to you. We only recommend products we genuinely believe will help your garden thrive.
Before we get into the how, let's talk about the why. Hydroponic growing isn't just a trend or a tech novelty. For home gardeners focused on sustainability and self-sufficiency, it solves real problems.
Plants grown hydroponically typically grow 30–50% faster than their soil-grown counterparts. This is because the roots have direct access to nutrients dissolved in water, meaning the plant doesn't waste energy searching through soil. You also use up to 90% less water than traditional gardening, because closed-loop systems recirculate water rather than letting it drain away into the ground.
For urban growers, balcony dwellers, and anyone without outdoor garden space, hydroponics makes year-round growing possible. You control the environment, which means no pest pressure from contaminated soil, no seasonal limitations, and no waiting for the last frost. It's gardening on your terms.
Quick Answer
A beginner hydroponic setup involves four core elements: a growing system (like Deep Water Culture or Kratky method), a nutrient solution, a growing medium (like clay pebbles or rockwool), and adequate light. Start with leafy greens like lettuce or herbs, which are forgiving and fast-growing. You can build a functional DIY system for $30–$60, or purchase an all-in-one starter kit for $80–$150. Most beginners can go from setup to first harvest in 3–6 weeks.

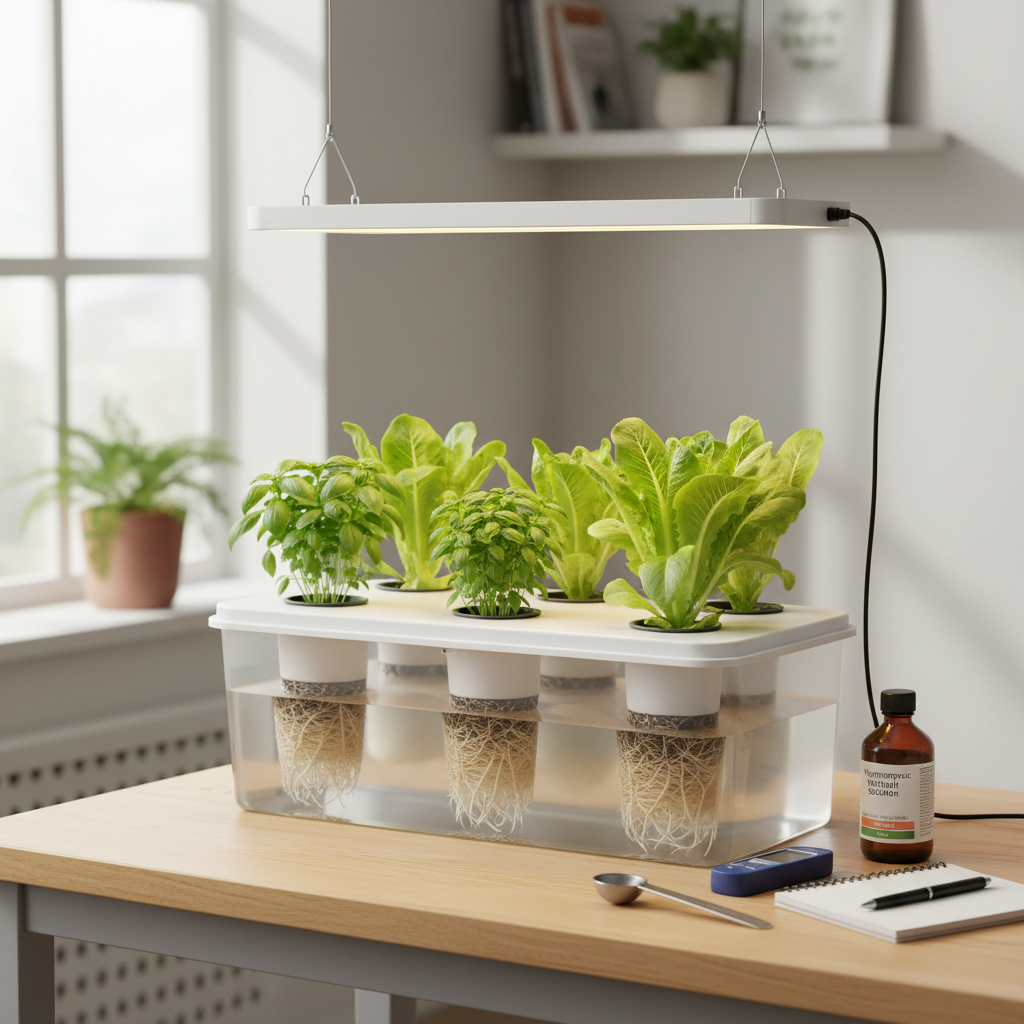
A basic DWC setup is the easiest hydroponic system for beginners to build and maintain.
Step-by-Step Guide to Your First Hydroponic Setup
Step 1: Choose Your System Type
The biggest beginner mistake is jumping into a complex system too fast. Start simple. Here are the three best options for first-timers:
Kratky Method (Passive — No Pumps, No Power) The Kratky method is the easiest hydroponic system in existence. You fill a container with nutrient solution, suspend your plant above it so the roots dangle into the water, and leave a small air gap so roots can breathe as the water level drops. No pumps, no electricity, no timers. A mason jar and a net cup are all you need.
- Best for: Lettuce, spinach, herbs, kale
- Cost: $5–$20 DIY
- Difficulty: Absolute beginner
Deep Water Culture (DWC) DWC is the most popular beginner system for a reason — it's simple but scalable. Plants sit in net cups over a reservoir of oxygenated nutrient solution. A small aquarium air pump keeps the water oxygenated. This is a slight step up from Kratky but produces faster growth.
- Best for: Lettuce, basil, chard, small tomatoes
- Cost: $25–$60 DIY
- Difficulty: Easy
Nutrient Film Technique (NFT) NFT systems pump a thin stream of nutrient solution through channels where plant roots are suspended. They're efficient and elegant, but have a higher learning curve and a bit more equipment involved. Recommended once you've had one successful harvest.
- Best for: Leafy greens at scale
- Cost: $80–$200+
- Difficulty: Intermediate
Start with Kratky or DWC. Seriously. Many experienced hydroponic growers still use these methods because they work beautifully.

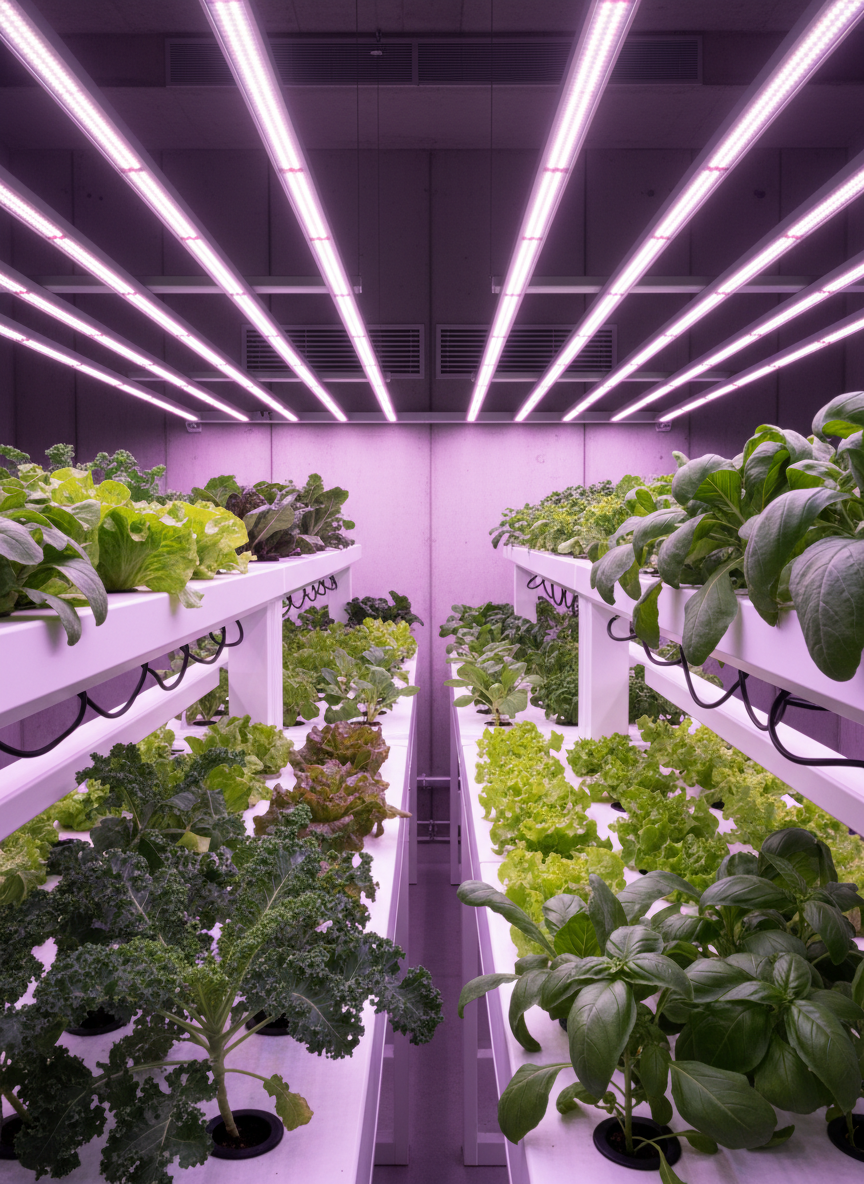
Hydroponic lettuce can be harvest-ready in just 3-4 weeks — much faster than soil-grown lettuce.
Step 2: Gather Your Equipment
For a DWC starter setup, here's exactly what you need:
- A reservoir container: A 5-gallon opaque bucket or storage tote (opaque prevents algae growth)
- Net cups: 2-inch or 3-inch mesh pots that hold your plants
- Air pump + air stone + tubing: A basic aquarium pump kit works perfectly
- Growing medium: Clay pebbles (hydroton) or rockwool cubes — avoid regular soil
- pH meter or pH test strips: Critical for monitoring water acidity
- EC/TDS meter: Measures nutrient concentration (optional but recommended)
- Hydroponic nutrients: A two-part or three-part liquid nutrient solution
- Seeds or seedlings: Start with lettuce, basil, or spinach
- Lighting: More on this in Step 4
Total cost for a solid DIY DWC setup: $35–$65 depending on what you already have at home.
Step 3: Mix Your Nutrient Solution Correctly
This is where many beginners stumble, but it's simpler than it sounds once you understand the basics.
Fill your reservoir with clean water — ideally filtered or left out overnight if your tap water is heavily chlorinated. Then add your hydroponic nutrients according to the package directions. Most beginner nutrients (like General Hydroponics Flora Series or MaxiGro) come with clear mixing instructions.
The two numbers you need to monitor:
- pH: Aim for 5.5–6.5 for most vegetables. Outside this range, plants can't absorb nutrients even if they're present. Use pH Up or pH Down solutions to adjust. Check pH every 2–3 days.
- EC/TDS (nutrient concentration): Seedlings want lower concentrations (around 500–800 ppm). Mature plants can handle 1000–1600 ppm. Start weak and build up gradually.
A reliable pH meter is the single most important investment you'll make. Don't skip it. Cheap test strips are notoriously inaccurate.
Step 4: Set Up Your Lighting
Plants need light to photosynthesize, and most indoor spaces don't provide enough natural light for productive vegetable growing. Here's what actually works:
For leafy greens and herbs: A basic LED grow light in the 2000–4000 lumen range is perfectly adequate. You don't need an expensive high-powered unit to grow lettuce.

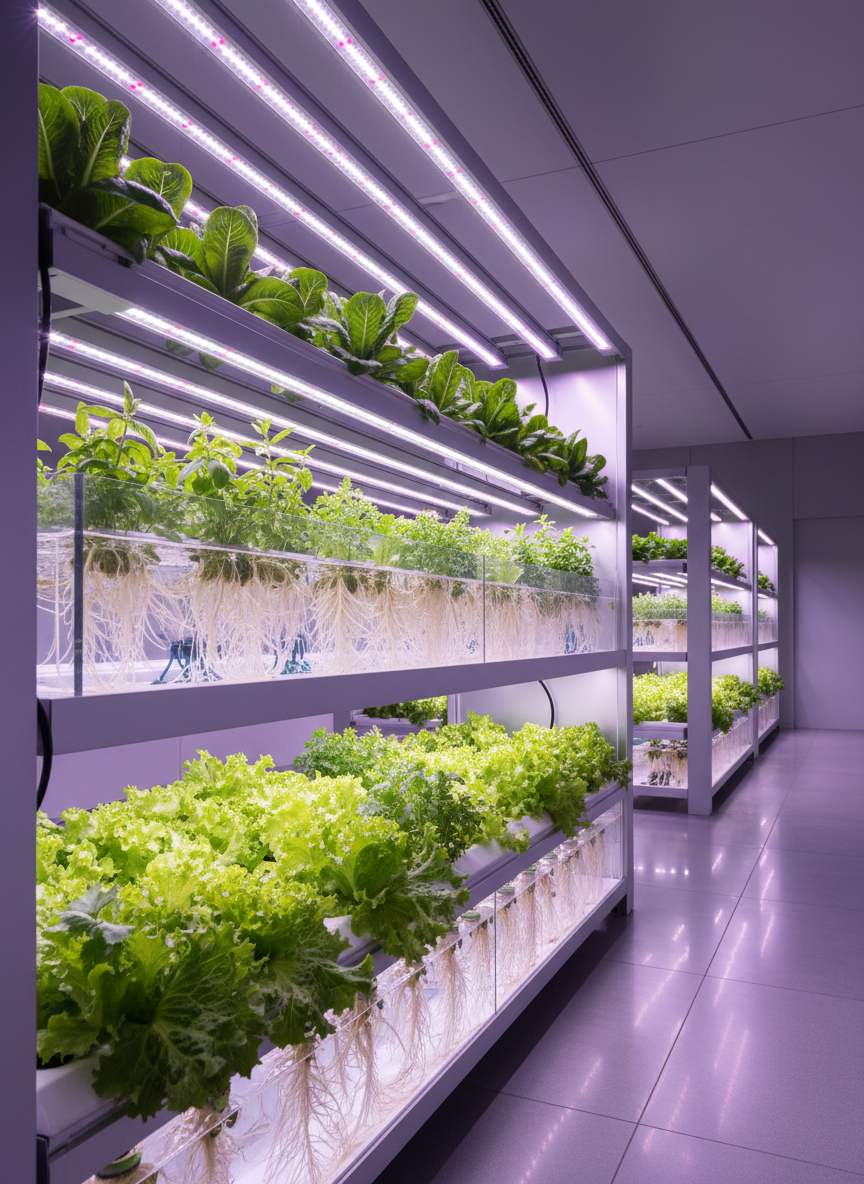
Healthy hydroponic roots are bright white and dense — they're a clear sign your system is thriving.
Light schedule:
- Leafy greens: 14–16 hours of light per day
- Fruiting plants (tomatoes, peppers): 16–18 hours per day
- Use a simple outlet timer — this is non-negotiable for consistency
Budget recommendation: The Spider Farmer SF-1000 (~$90) or the Mars Hydro TS 600 (~$60) are reliable entry-level LED grow lights that won't break the bank and will grow excellent lettuce, herbs, and smaller vegetables. For the absolute minimum investment, a shop light with full-spectrum LED bulbs ($20–$30) will grow excellent lettuce and herbs.
If you have a south-facing window that gets 6+ hours of direct sunlight daily, leafy greens can absolutely grow there without supplemental lighting — though growth will be slower.
Step 5: Germinate Your Seeds
You have two options: germinate in rockwool starter cubes (the hydroponic standard) or pre-sprout seeds in a damp paper towel, then transfer to your growing medium.
For rockwool cubes:
- Soak cubes in pH-balanced water (5.5–6.0)
- Place 1–2 seeds per cube
- Keep cubes moist and warm (70–75°F) until sprouts emerge — usually 3–7 days
- Once seedlings have a visible root and first set of true leaves, transfer to your net cups
Place net cups in your reservoir lid so the bottom of the cube or roots just barely touches the nutrient solution. In DWC, the air pump should be running continuously.
Step 6: Monitor, Adjust, and Harvest
The first two weeks require the most attention. After that, hydroponic systems become surprisingly low-maintenance.
Weekly maintenance checklist:
- Check and adjust pH (every 2–3 days ideally)
- Top off reservoir water as levels drop
- Check for signs of nutrient deficiency (yellowing leaves = likely pH issue or nitrogen deficiency)
- Clean any algae from exposed surfaces
When to harvest: Lettuce and leafy greens are ready in 3–4 weeks. Harvest the outer leaves continuously ("cut and come again") rather than pulling the whole plant. Basil takes about 4–6 weeks and can be harvested the same way.

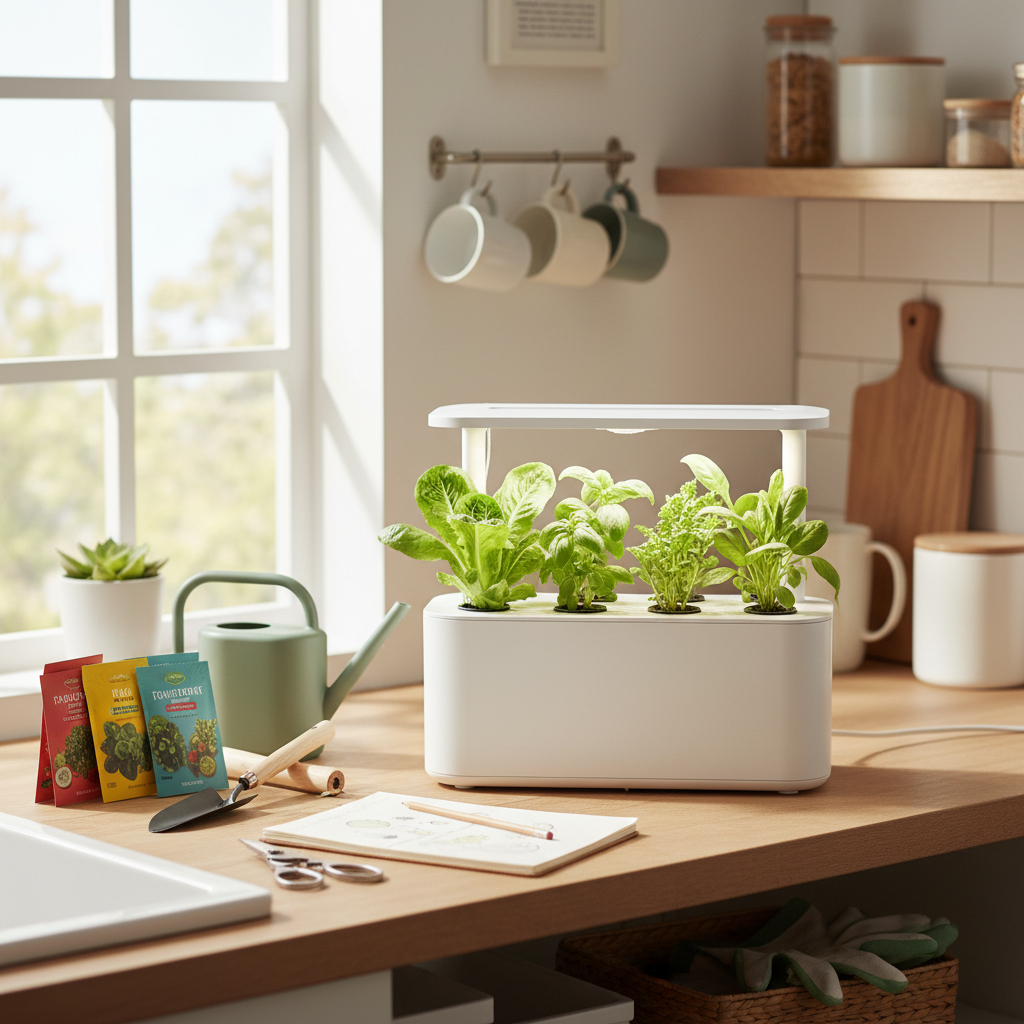
You only need a few key supplies to get started in hydroponics — nutrients, pH kit, and a basic system.
Common Mistakes to Avoid
Ignoring pH. This is the #1 reason beginners fail. A pH problem looks like nutrient deficiency, so growers add more nutrients and make things worse. Always check pH first.
Starting with fruiting plants. Tomatoes and peppers are not beginner plants in hydroponics. Start with lettuce. Get a harvest under your belt, then level up.
Using too much nutrient solution. More nutrients does not mean faster growth. It means burned roots and stressed plants. Follow the recommended dosing and start at the lower end.
Letting light hit the reservoir. Algae thrive in lit, nutrient-rich water and compete with your plants. Keep your reservoir completely opaque.
Skipping the air pump in DWC. Stagnant, unoxygenated water leads to root rot fast. If your roots look slimy and brown, inadequate oxygen is almost always the culprit.
Your Next Steps
You now have everything you need to start your first hydroponic garden. Here's your action plan for the next week:
- Decide on Kratky or DWC based on your budget and how hands-on you want to be
- Order or gather your supplies — focus on pH meter, nutrients, growing medium, and a light
- Germinate your first seeds this weekend — lettuce, basil, or spinach are your best bets
- Set up your reservoir and get your air pump running (if using DWC)
- Join a hydroponic community online — forums like r/hydro on Reddit are incredibly supportive and full of experienced growers who love helping beginners
The learning curve is real but surprisingly short. Most beginners are confidently running their systems after just one full grow cycle. Your first harvest — crisp, clean lettuce grown entirely in water — will be one of the most satisfying meals you've ever grown yourself. Start simple, stay curious, and grow something today.
Recommended Products
Looking for the right gear to get started? We've curated our top picks for sustainable vegetable gardening — from raised beds and grow lights to seed-starting kits and organic fertilizers — on our Recommended Products page.
Ready to Start?
If you're ready to gear up, check out our recommended raised beds and grow lights on Amazon — beginner-approved and built to last.
Ready to Start?
If you're ready to gear up, check out our recommended raised beds and grow lights on Amazon — beginner-approved and built to last.
Ready to Start?
If you're ready to gear up, check out our recommended raised beds and grow lights on Amazon — beginner-approved and built to last.
Ready to Start?
If you're ready to gear up, check out our recommended raised beds and grow lights on Amazon — beginner-approved and built to last.
Ready to Start?
If you're ready to gear up, check out our recommended raised beds and grow lights on Amazon — beginner-approved and built to last.